Bonjour! Well, it’s good to be back. It’s been a busy week since hubby came home from hospital after a hip replacement op and its been a case of him learning to manuever his way around the house on crutches and needing assistance with dressing etc…Now things have settled somewhat, I’ve had time to cook up a storm today (yey to home made quiche, cinnamon scrolls and more..) as I do like to bake and make sure we have plenty of home made treats on hand.
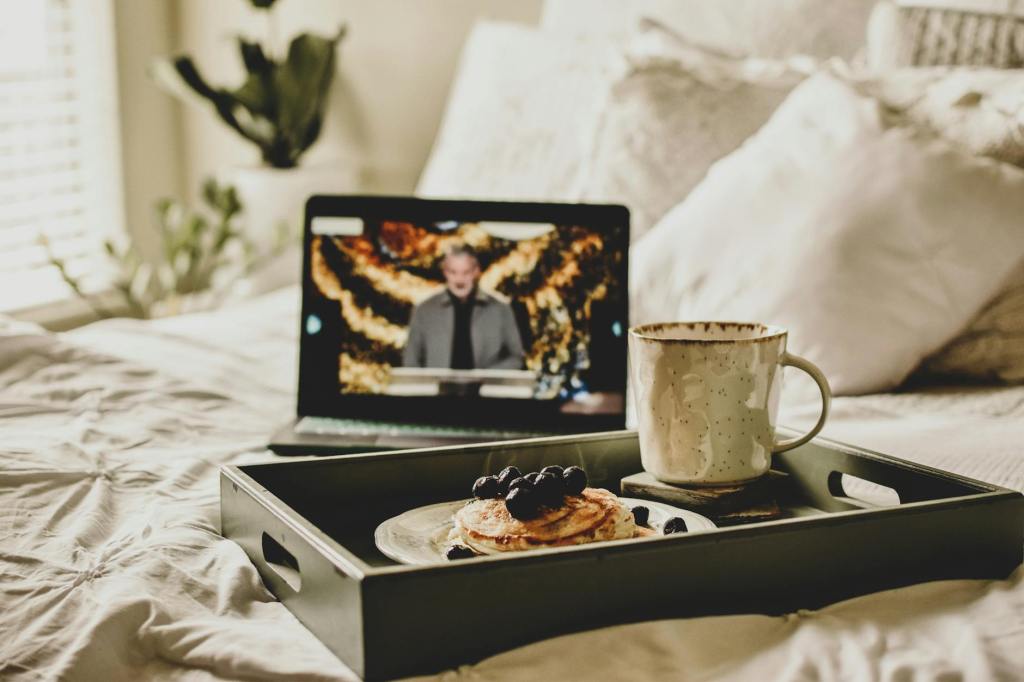
And, now that that’s all done I have time to pop in and share with you my latest project. Which reminds me, I am yet to share how my clients bedsides went but I’ll share that soon, she loves them! Anyhoo, as hubby is going to be out of action for a while I’m working on some smaller projects that don’t require his muscle power to help me move anything. And, being that he’s had surgery and I knew he’d be needing to rest in bed a fair bit I thought I’d do up a breakfast tray for his meals. And now I think about it I think I’ve forgotten to take a before pic, yes I’ve definitley forgotten but if you pop over to Instagram and check out my reels you’ll see me working on it from the very beginning.
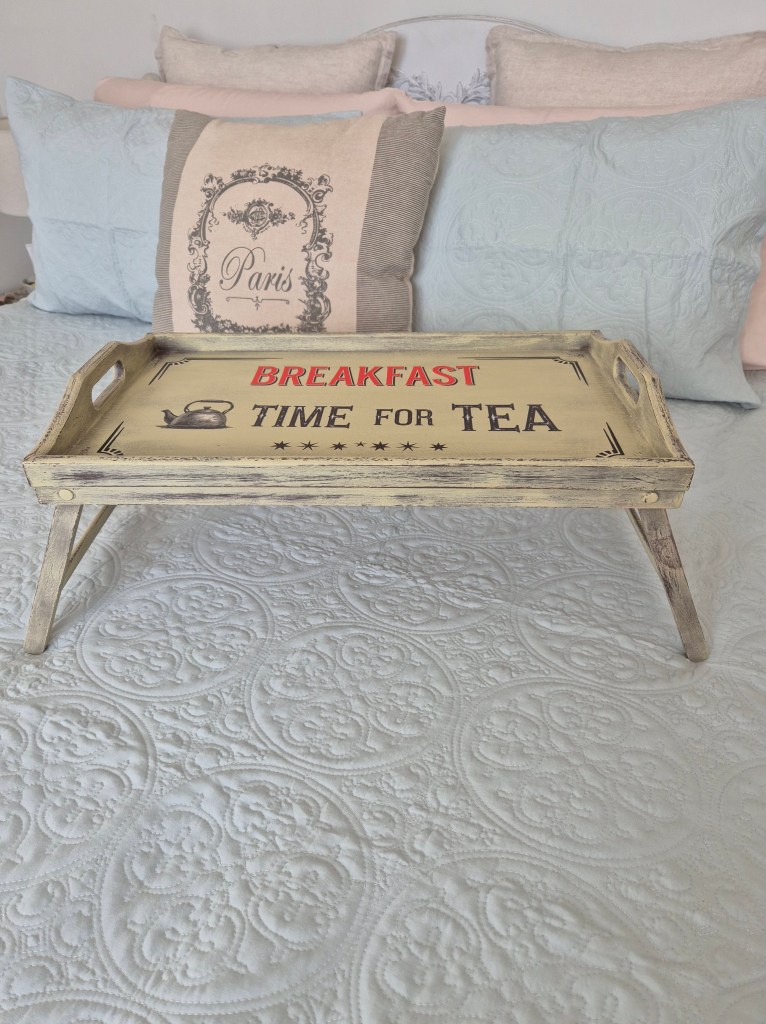
I picked this tray up at the op shop, naturally, as that’s where I find a lot of my small projects, the op shops are full of great things for small projects. I did already have a tray that I’d also found at the same op shop but that one doesn’t have the lip around it and everything slides off constantly. So, when I saw this more traditional style tray with the lip to stop plates sliding I grabbed it, especially considering it was only $5!! Definitley a bargain.
Thankfully, it was in great shape so I didn’t need to do any major prep to it just a wipe down and then straight in with the paint (you can see the whole process on IG). It took a minute to decide what colour to go in with as I new I wanted a breakfast in bed feel to it but not a boring white tray. Don’t get me wrong, if you love white trays, then woohoo but when I’m decorating for myself and my home I don’t tend to have one style at all, it’s very eclectic over here. Anyway, I knew I wanted a layered look and that I absolutely wanted to use Versialles as I haven’t used it before and then I had the maddening idea to use Honfleur as the base, again another colour I hadn’t used believe it or not. I really wasn’t sure if the two colours would go together very well or not but decided to dive in and see how it went. I decided if it looked terrible, I could always repaint it. That’s the great thing about paint, nothing is ever permanent and if you don’t like something you can simply change it. And you won’t believe this, but I’ve just realized not only did I not take a before picture, I didn’t even take a picture after I had Honfleur down as the base coat and I didn’t record it!! Aye, talk about a major blonde moment….it’s been a long week lol but I promise I do have the end result to share with you and you can definitley see that on IG!
Where was I? Ah yes, so I decided to go ahead with Honfleur as the base and let me say, I’ve never fallen in love with anything brown in my life until I used Honfleur. I’m really thinking Annie should give it a secondary name and call it Chocolat because honestly it’s like working with melted milk chocolate. It’s delicious and rich and if it had smelled like chocolate there’s a good chance I would have been smelling it more than painting with it So with Honfleur down as my base coat I decided to dry brush with Versailles to achieve that layered look. I didn’t want a shabby chic look simply a layered, worn look as if the tray had already been used for years. That’s one thing I love about dry brushing is it gives you the opportunity to play with colour and decide how much contrast you want You can add extra paint in some areas and less in others so the base colour shows through and it has an authentic aged feel to it or you can keep the same cohesive amount of layering all over the piece your working on.
As I said, I didn’t really know if Versailles would be a good fit with Honfleur but once those initial brush strokes were on I knew it was going to be a great colour combination. And so I played with Versailles until I had the coverage I wanted. Sometimes restraint is called for when painting, that is something I’ve had to learn over the years. That thought of ‘just a little more’ quite often is what becomes the mistake and where things start to go wrong and not how you intended it to be at all. Well for me at least any way.
After having my colours on the tray I went in with a transfer from Iron Orchid Design’s (IOD) Home Sweet Home range. I wanted to keep in simple but with a total breakfast in bed vibe. I love working with transfers as I’m not an artist by any means when it comes to drawing or painting images, I’d love to be but I simply don’t possess that skill, so I leave that to companies like IOD and ReDesign with Prima to come up with all the images I could ever want to use and then I use those alongside my painted pieces.
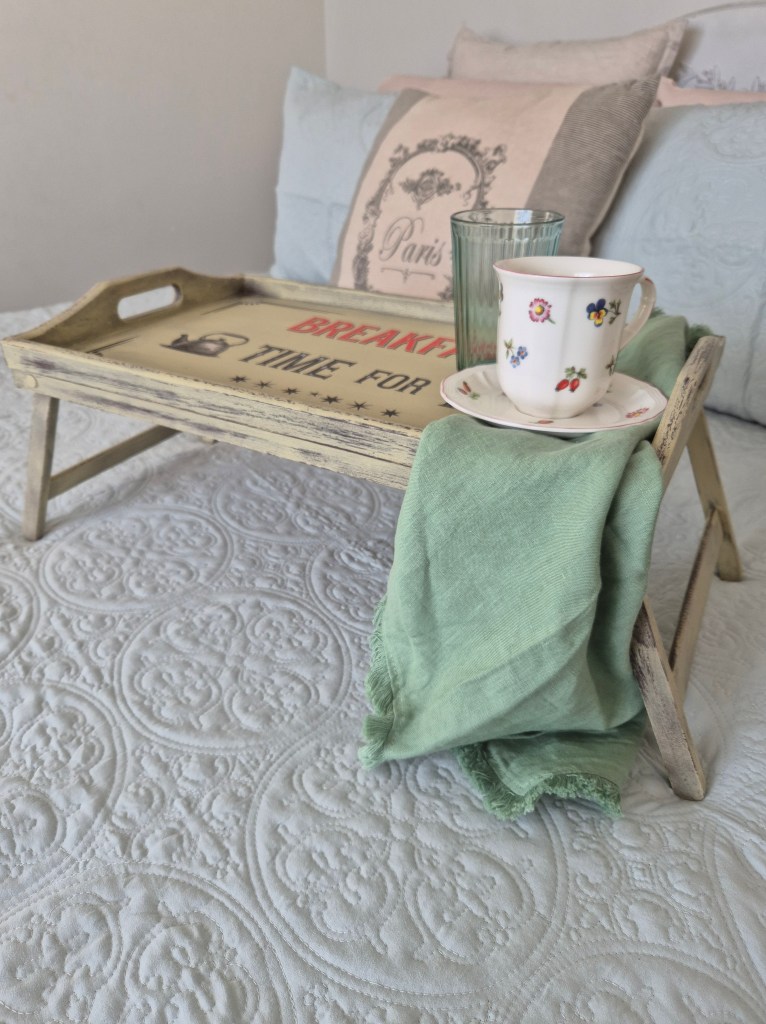
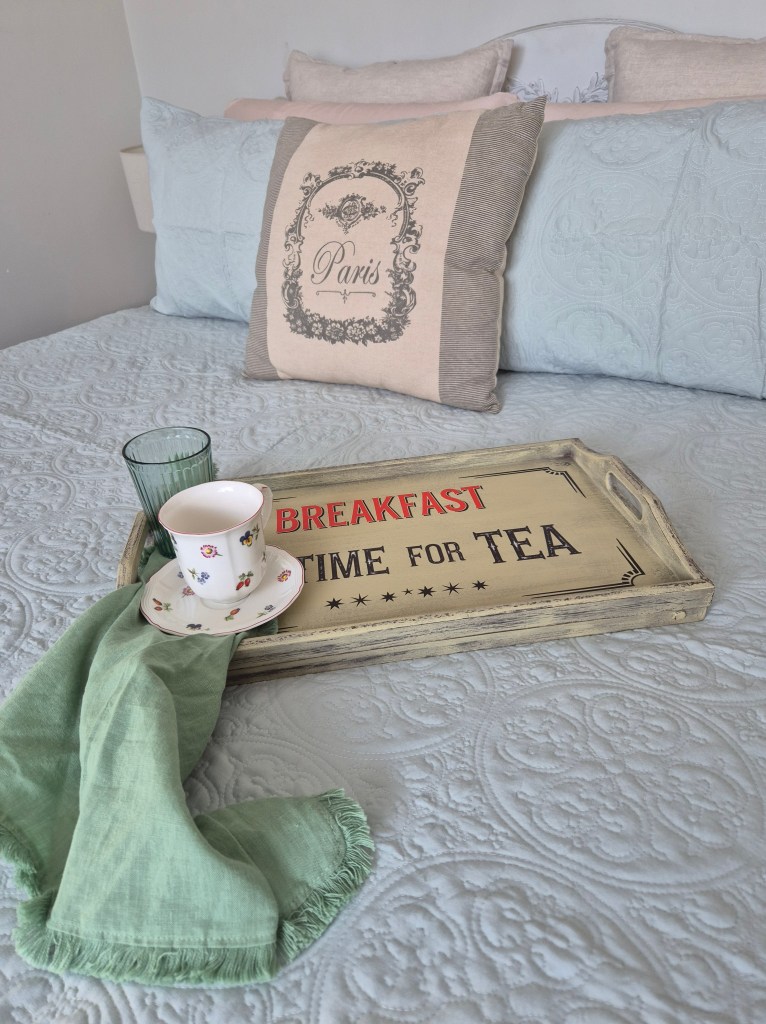
So here we have the final result (as I said I forgot to take a before pic, oops) and I love the end result. It has been in use non stop since hubby came home and while it’s not a piece you’d typically have out on display at any given time it’s nice to have it on hand for those times when kids or husbands are unwell and need a little TLC.
Well, thanks again for stopping by, be sure to let me know your thoughts on the tray and what you would have done if it was your piece. And, remember to stay tuned so you know when out first episode goes live on YouTube. Take care for now and I’ll be back soon.

À bientôt….Michelle x


Leave a comment