Bonjour! Bonjour! It’s good to be back and I can’t believe it’s been a month since my last post! I guess you could say I’m not the best at time management but I’m working on it lol….I hope you all enjoyed my last post about my personal top three favourite revamps and if you missed it you can read it here.
Today I wanted to share with you a project I did a couple of months ago now and one I didn’t know if I’d ever do or if I could do it. Sometimes I get in my own head about doing something new and stress myself out when really it’s a simple case of get in there and give it a go and if it doesn’t work out…..well then try again. I can hear that expression from when I was growing up, ‘If at first you don’t succeed, try, try again.’ I’m sure every Gen X kid heard this from their parents at some point in time and that is why we are all so determined to get things done.
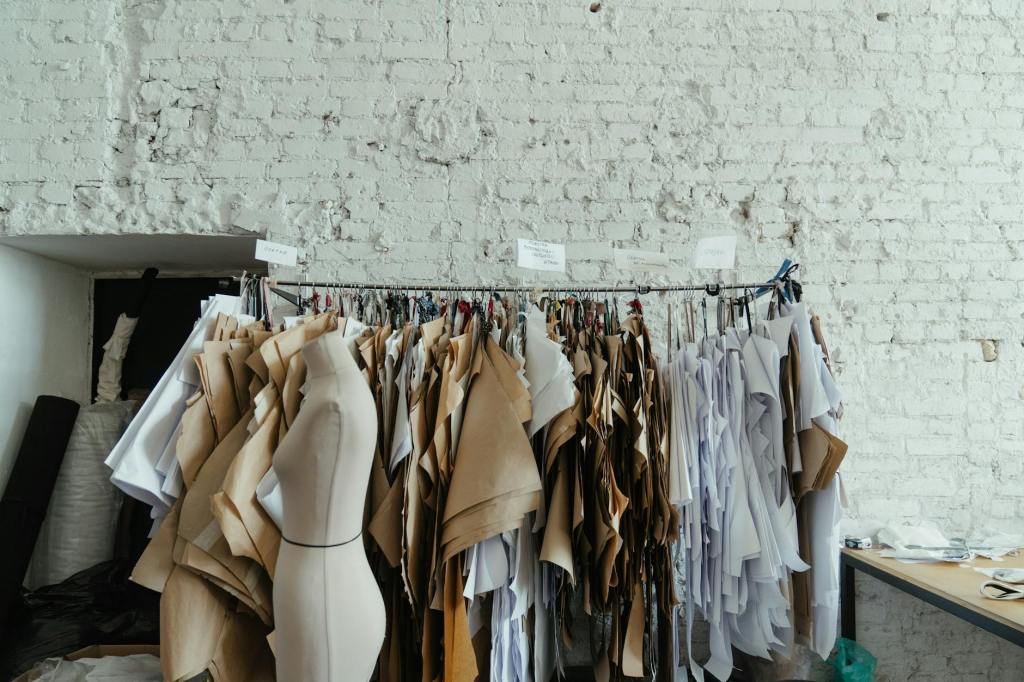
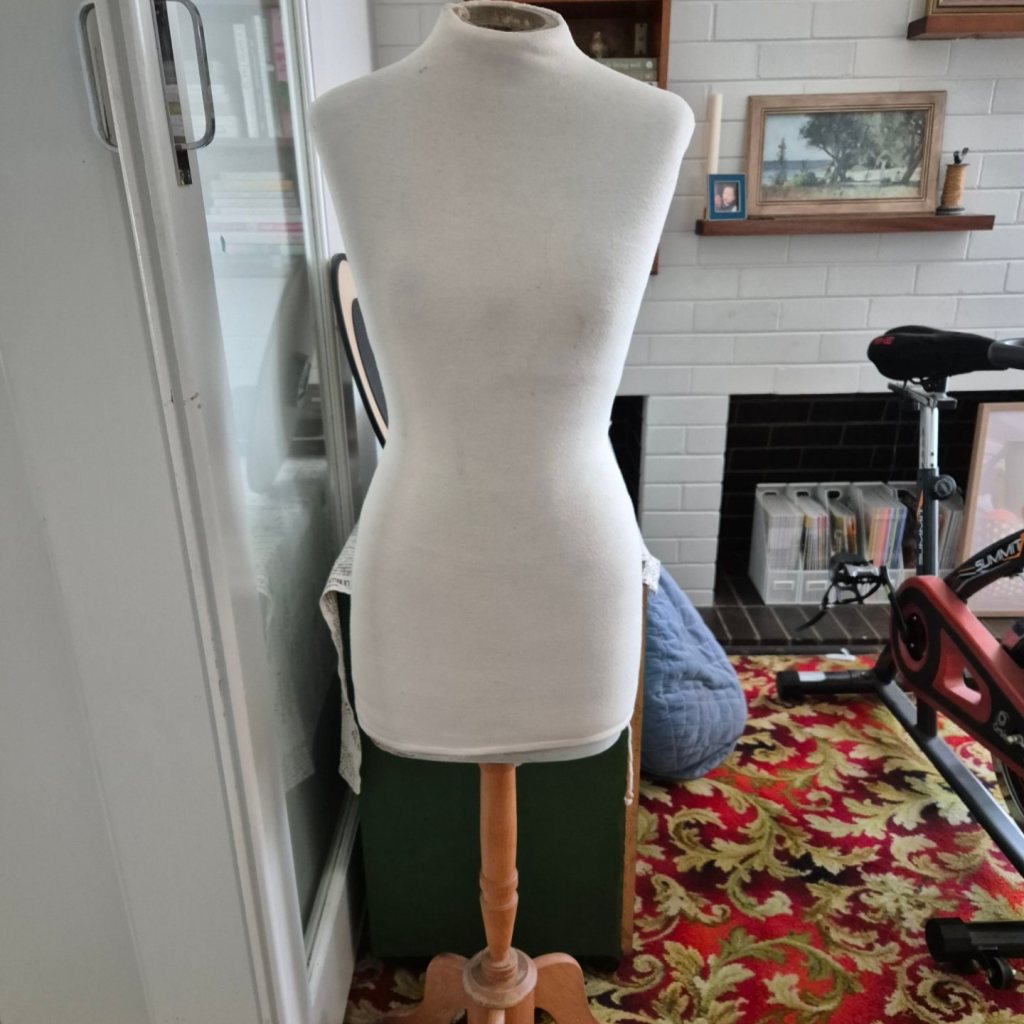
Anyhow, today we’re talking about painting fabric with Annie Sloan Chalk Paint and while I’m no expert with this method my first attempt turned out beautifully and it’s definitely a technique I’ll be doing again. I found a dressmakers mannequin on facebook for a really good price and although she was a little rough around the edges I knew she’d look amazing with a revamp.
The first part of her revamp was quite straight forward and easy. I cleaned up her stand, gave it a light sand, tightened up the wingnuts and added a fresh coat of paint in Anthenian Black and then gold leafed most of her beautiful curves. Honestly think I dragged this process out longer than it needed to be because I was worried about her body.
So we’re clear, until my lovely mannequin came along, I hadn’t painted fabric before. I knew it was possible as I’d seen Annie Sloan do it on one of her youtube episodes and I’d watched other tutorials of painting fabric but this was a first for me.
I decided to go with Old White as I already knew I’d be using some Iron Orchid Design inlays to dress her body up. First of all (and this is just how I did things) I grabbed my mister bottle and really dampened the entire front of her and then straight away went in with the Old White using one of my Annie Sloan paint brushes. The paint went on beautifully and really took to the fabric. When I was happy with the coverage on the front I spun her around and again misted the back and the applied Old White and left her to dry overnight.
Now if you’ve used chalk paint before, you might be wondering why I left my mannequin to dry overnight when chalk paint dries very quickly even in winter. Well, it’s because dressmakers mannequins have a polyester batting under their fabric. So when you dampen the fabric you’re also wetting the batting which needs time to dry as well because it’s an extra layer that now has water and paint on it. At one point I thought Audrey (I have to give her a name, calling her mannequin is just so cold lol) looked really good and dry, until I touched her and paint came off onto my fingers. That’s when I realized the batting was obviously wet too along with the fabric, so I left well enough alone and gave her the night to dry off.
The next day I went in with a second coat of Old White, only this time I didn’t mist her body at all. Being as she was nice and dry and a little stiff to the touch I decided to go straight in with Old white and let her dry for a couple of hours before the next step. Being as the weather was extremely hot when I was doing this It was safe to go back to do the third coat after the second had dried. The reason I did a third coat is because when you use IOD (Iron Orchid Design) inlays the paint needs to be wet so they can adhere to the paint. So, as I painted the third coat on the front I aslo went in and put my inlays where I wanted them. While I was waiting for the inlays to dry I painted a third coat on the back of Audrey’s body to keep everything even.
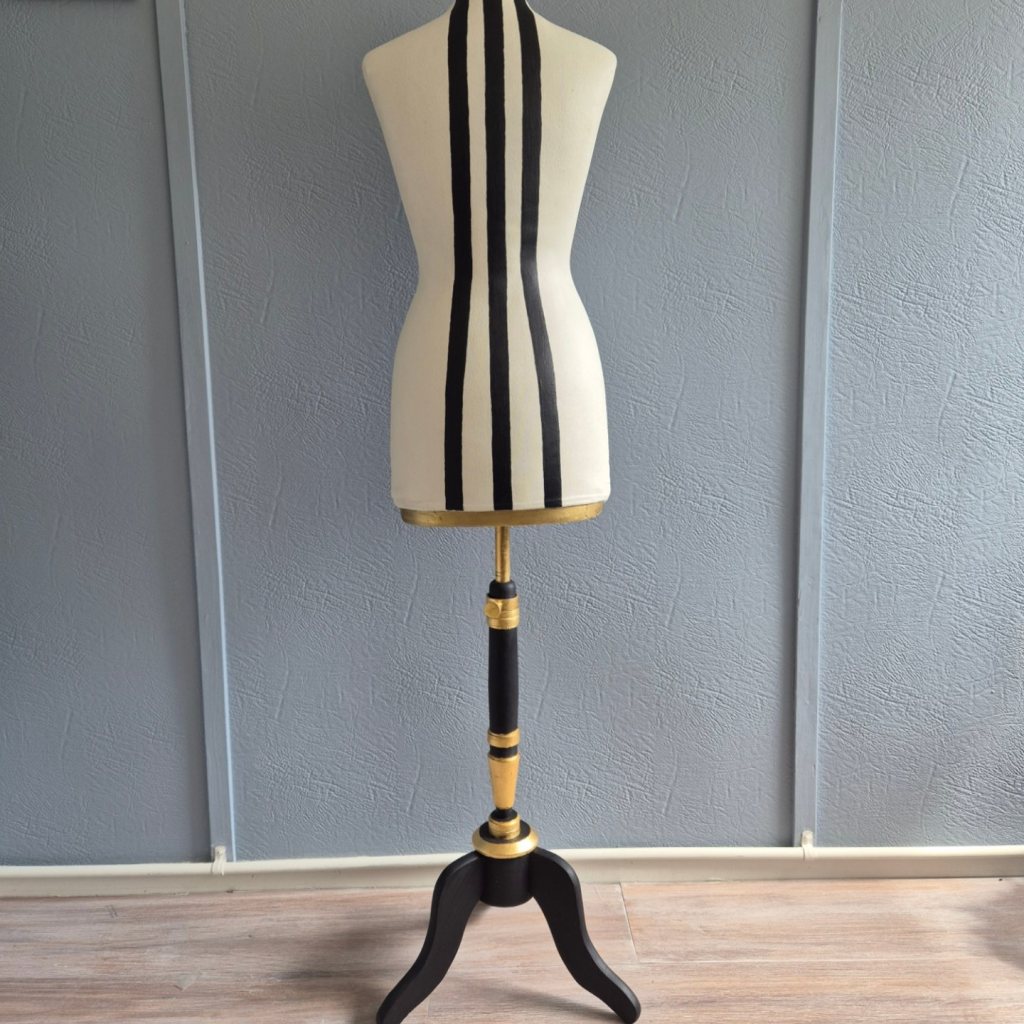
After the inlays had dried and I removed them (all about this in another post) I decided to add a few butterflies from a ReDesign With Prima transfer called Parisian Butterflies. I simply felt like she needed a little extra pizazz, although I wasn’t too sure if the transfers woud take to her body but thankfully everything panned out and they went on perfectly. To dress up her back I took a little inspiration from Chanel (yes Coco Chanel) and decided to keep things simple and elegant and so decided to do a few simple black stripes to show off her figure. Believe it or not but this bit was actually the most difficult as my painting tape did not want to stay on and so it was a battle of wills to get those stripes straight but I’m happy to say I won in the end. And when all her details were finally done I gave her a good coat of clear wax to seal everything in.
I have to say, Audrey has been one of my favourite smaller projects I have finished lately and everytime I look at her, she puts a smile on my face. She’s one of the few projects that I’ve done for myself and not to sell, so she lives in my studio watching over me as I create every other project.

So there you have it, painting fabric with chalk pain isn’t as daunting as it seems. It requires some thought, prep and a little planning but mostly you just need to make it fun. I can’t wait until the next Audrey comes along and I can do a wholw new design. As always if you have any questions or comments feel free to leave them below and I’ll see you soon for our next post. Take care for now and stay tuned.
À bientôt.... Michelle x


Leave a comment